Why Candle Making Is a Perfect DIY Craft
Candle making is more than a cozy hobby; it’s an art that blends creativity, science, and relaxation. Whether you’re looking to create gifts, decorate your home, or start a small business, learning how to make candles offers a fulfilling and accessible entry into the world of crafting. With a few basic supplies and a willingness to experiment, anyone can master the basics of candle making.
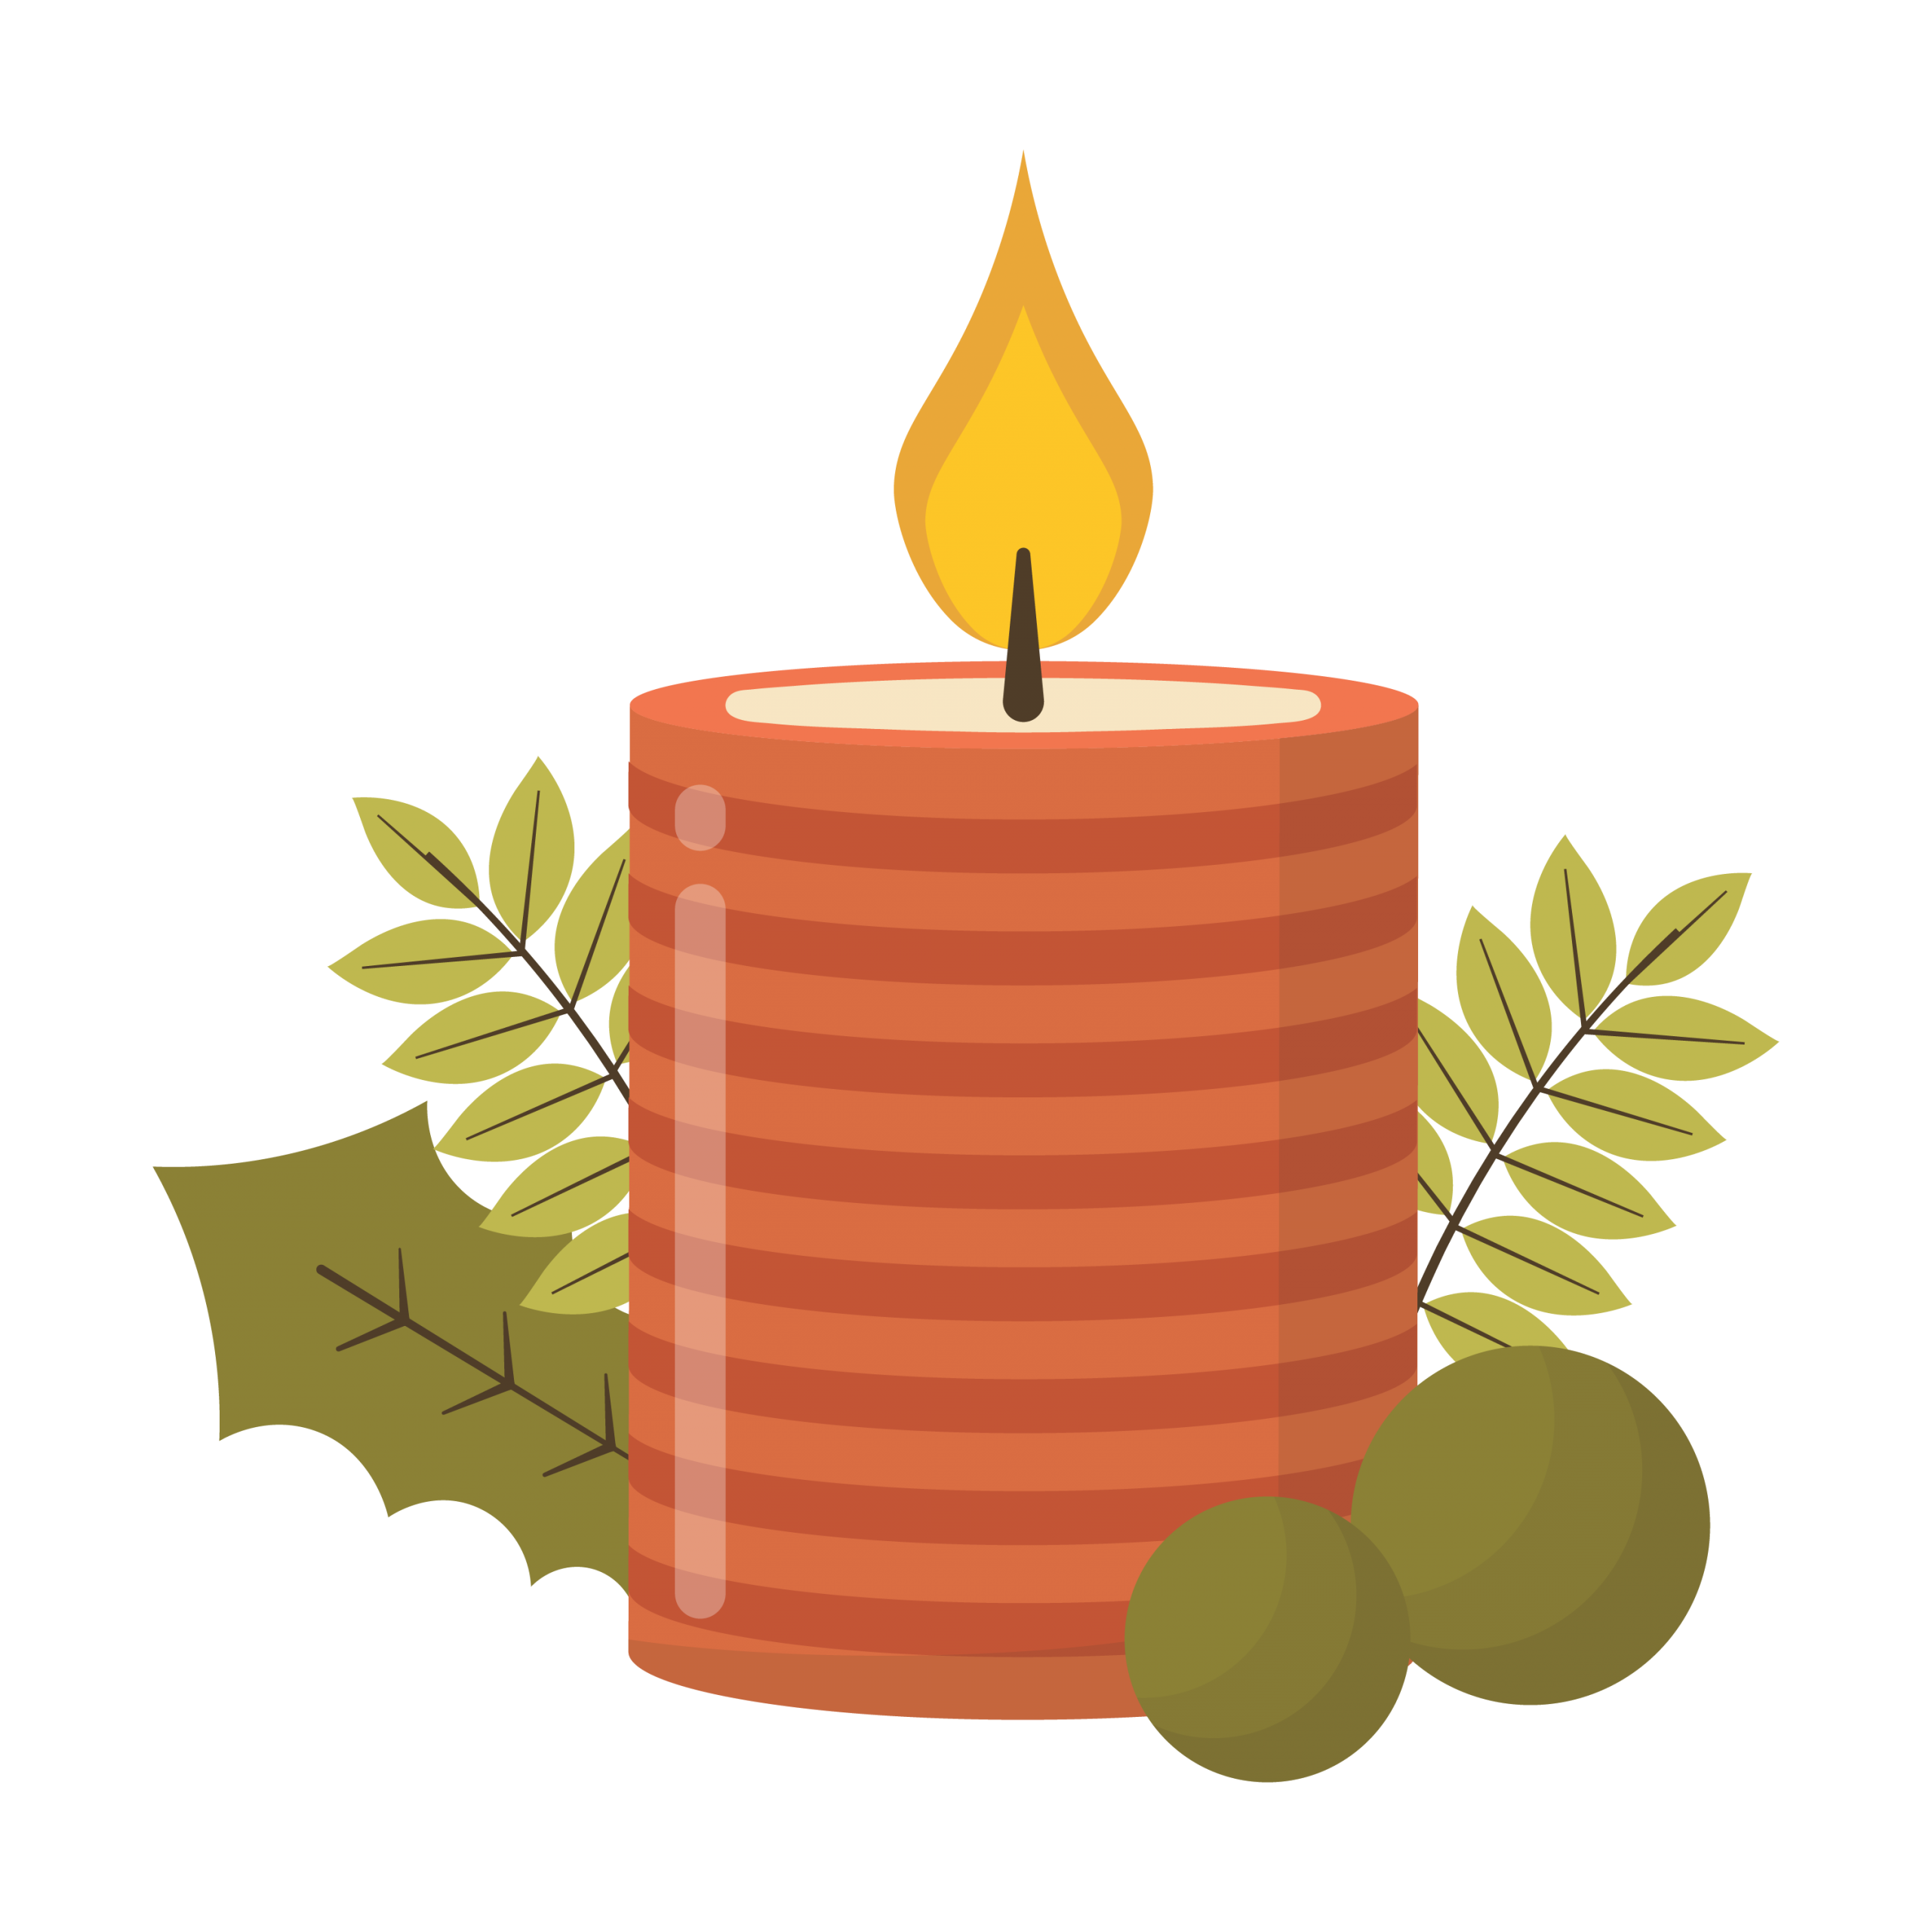
Understanding the Different Types of Wax
One of the first decisions you’ll make is choosing your wax. Each type has its pros and cons depending on the look, scent, and environmental impact you want.
Paraffin Wax is affordable and widely used. It holds fragrance and color well but is petroleum-based, making it less eco-friendly.
Soy Wax is a popular natural alternative made from soybeans. It burns cleaner and longer but can sometimes appear cloudy or rough on the surface.
Beeswax has a subtle natural honey scent and a beautiful golden color. It burns slowly but can be more expensive and tricky to mix with added fragrances.
Coconut Wax is soft, creamy, and blends well with other waxes. It’s becoming popular for luxury candles.
Gel Wax is a translucent, rubbery wax used for artistic candles. It requires specific containers and additives for safety and aesthetics.
The Essential Tools and Materials
Starting candle making doesn’t require a huge investment. Here are the basics you’ll need:
- Wax of your choice
- Wicks, properly sized for your container
- Containers like jars, tins, or molds
- Fragrance oils or essential oils for scent
- Colorants, such as liquid dye or chips
- Double boiler or melting pot
- Thermometer to monitor wax temperature
- Wick holders or centering tools
- Heat-resistant surface and safety gloves
Having a dedicated space and good ventilation is also essential, especially when working with fragrance oils or higher temperatures.
Step-by-Step: Making Your First Candle
- Melt the Wax
Using a double boiler, melt your chosen wax slowly over medium heat. Monitor the temperature to avoid overheating. - Prepare the Container
Place the wick in the center of your container using a wick holder or adhesive. Make sure it’s secure and upright. - Add Fragrance and Color
When the wax reaches the right temperature (typically between 170–185°F depending on the wax), stir in fragrance oils and color. - Pour the Wax
Carefully pour the melted wax into your container, leaving some room at the top. Keep the wick centered. - Let It Set
Allow the candle to cool and harden for several hours. Avoid moving it during this stage to prevent cracks or sinking. - Trim the Wick
Once the candle is fully set, trim the wick to about ¼ inch before burning.
Safety First: Tips for a Safe Candle Making Experience
Always melt wax slowly and never leave it unattended. Keep a fire extinguisher nearby and never pour hot wax down the sink. Use containers that are heat-resistant and stable. Wear gloves and use tools specifically for candle crafting to avoid contamination.
Troubleshooting Common Issues
If your candle has sinkholes, it may be cooling too quickly—try pouring a second layer. Frosting or bubbles can occur with soy wax; avoid rapid cooling and stir gently. A candle that burns too fast may need a smaller wick or a wax blend with a higher melt point.
The Joy of Customization
Candle making becomes more enjoyable as you experiment with scent blends, color combinations, and container designs. Try layering scents for a dynamic experience or decorating the surface with dried flowers or crystals. The possibilities are endless, and each candle you create can reflect your personal taste and mood.